Monday, March 31, 2014

Mad Science Monday: Sink or Float?

   Yay! I think Spring has finally arrived.... wait, let me not say that too loud around here!!  The last time the weather warmed up a bit (and I was happy to see grass again), it only happened to be a big tease, as Mother Nature laughed at us and said,  "Just Kidding" and dumped snow on us again this past Saturday. Not cool Mother Nature...not cool.
   Anyhow, the weather warmed up a little today and the snow is melting once again...
   As Spring and Easter arrive, there are tons ( and I do mean TONS) of great ideas that are out there as far as learning activities for kids. I have lots on my Pinterest boards, as well as a few ideas of my own that I hope to be able to get to this coming month.
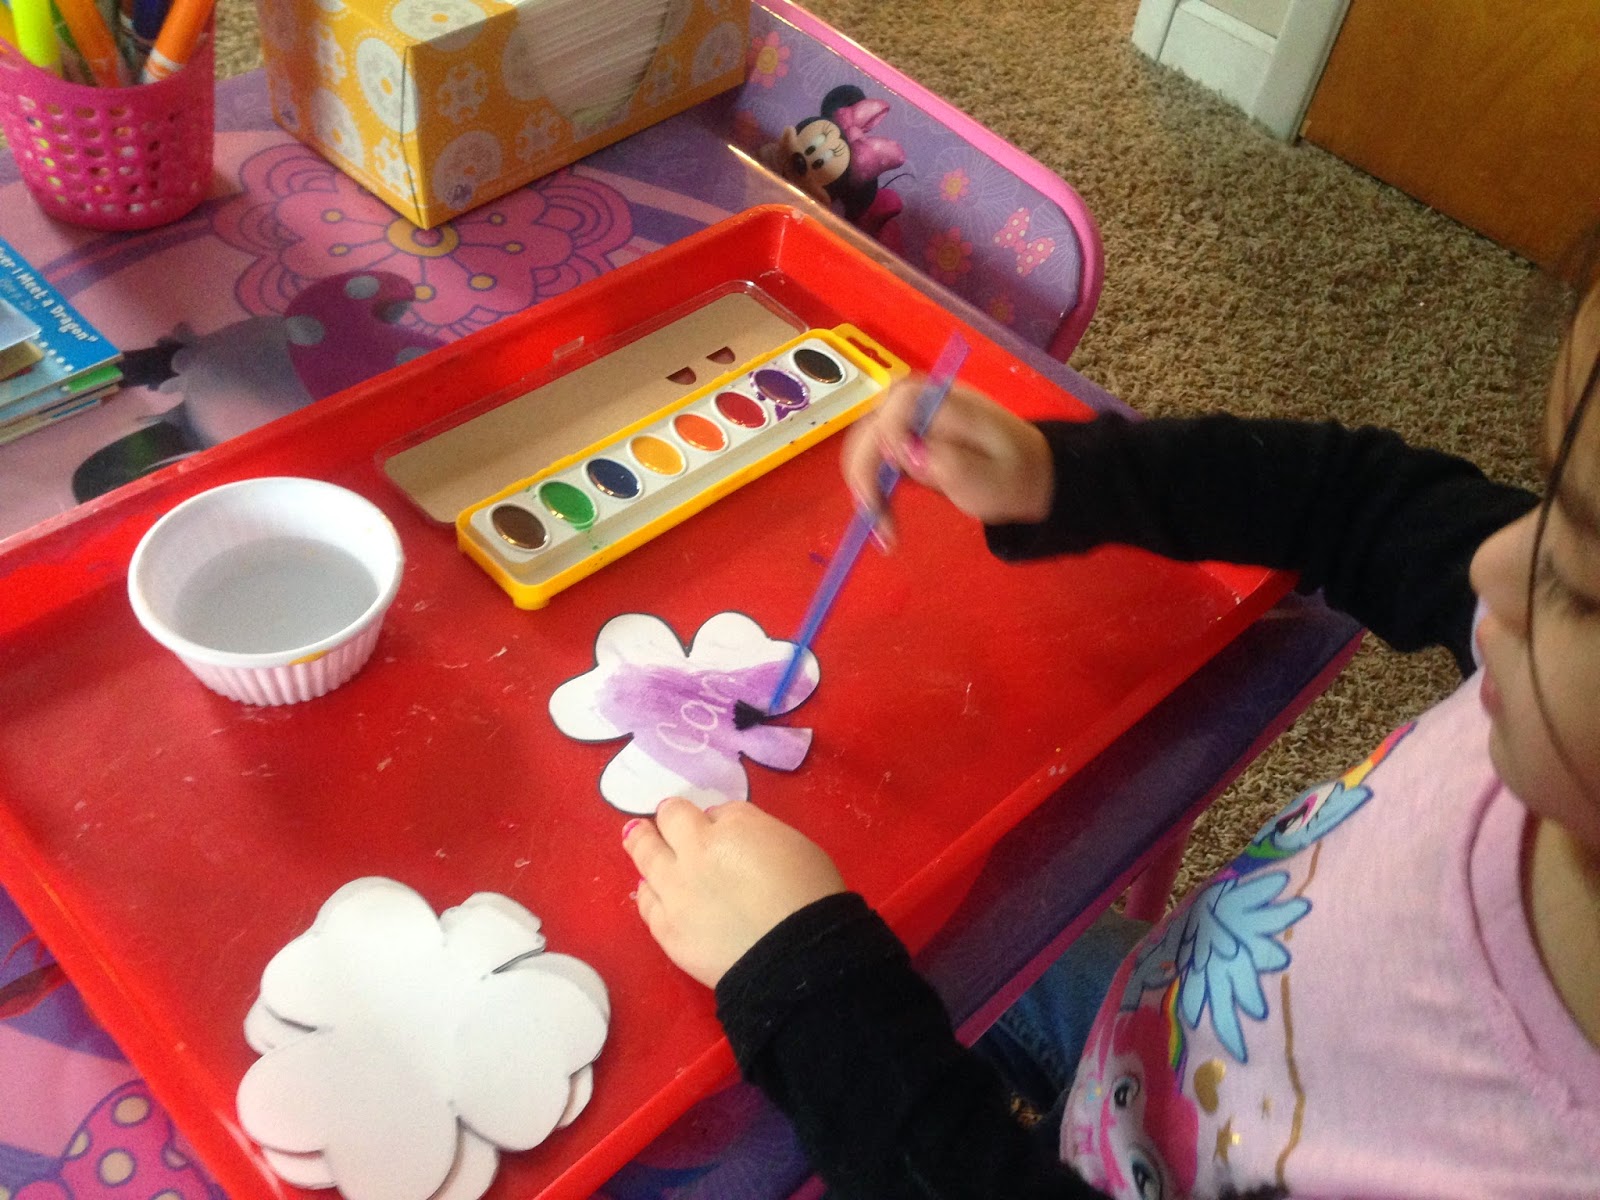
   This past weekend, as I was thinking of a Mad Science Monday activity, I wanted to do something a little different than what we have been doing. So, today, instead of mixing stuff together, we did some investigative type of work, complete with making predictions and doing an experiment to see if the predictions were correct.
   I chose the topic "Sink or Float?", and I read the little munchkin a book called "Floating and Sinking", to familiarize her with both terms and concepts. I refrained from telling her outright that heavy things will most likely sink and light things will most likely not. I wanted her to conduct her experiment and find out on her own, what items would sink and what items would float.
    I took a few plastic eggs of two different sizes and placed random items from around the house in each one. I filled a small tub with water and very little blue food coloring for an added effect. The eggs have small holes and I used small strips of packaging tape to cover up the holes so the water wouldn't seep in. She opened up each egg and I had her predict whether the egg would sink or float when we put it in the water.
    I had her draw each egg (in the correct color and size) onto a sheet so that she could refer back to it, after the experiment.
Here were her predictions:
    She dropped each egg into the water and we discussed whether her prediction on that egg was correct. She discovered that most of the eggs floated, despite her predictions. I think she thought all of the eggs were going to end up floating, until she dropped in the small pink one (which was filled with decorative vase fillers). She was shocked that one egg actually sank to the bottom!
   Then she wanted to crack each egg open and see if the items inside would sink or float. And to her surprise, some items did sink (like our letter tiles) once they were outside of the egg!
   And of course, this led to some coveted water play ... which kept her busy while I made dinner.  And since she's a little sick, I poured in some Vicks Vapor Bath while she played, for an added sensory experience!

Friday, March 28, 2014

Freebie Friday!

   It's Freebie Friday!
   This week, I am also linking up my Freebie at Teaching Blog Addict!
    The little munchkin has been continuing to chug along and learn her sight words. And even after she receives a new set at school, I make sure to always make fun games/activities for her to practice and retain the sight words that she has already learned,
    I created this quick little Tweetin' Sight Words Activity for her this week
Click the image to download your FREE copy:
That's all I have for today... I have a busy weekend ahead of me and lots more to share next week!!

Tuesday, March 25, 2014

Crafty Tuesday: Rainbows, Rainbows, Rainbows!

   Ok, so we are a little obsessed with rainbows lately. Maybe it's just because we are longing for Spring to begin!
   This week, rather than the crafts being done by me, I will be showcasing the craftiness of the little munchkin.
   We haven't done too much painting in awhile, so I thought--why not? Rainbows are so much fun to paint!
   For added fun, I  brought out q-tips instead of paintbrushes.
    And here is how she made her q-tip rainbow!
   She did go through a ton of q-tips because she kept on painting after she made her rainbow!
   The next project she did required some prep in advance...we used a medium sized circle punch to get some colorful circles for the project.
 She glued the circles onto the large white circle in the order of the colors of the rainbow and practiced learning how to say each color in Spanish, 
She then added the word RAINBOW.
Thanks for checking out her Rainbow Crafts today!

Monday, March 24, 2014

Mad Science Monday: Color Mixing Fun!

   Well, I kind of disappeared after last week's Mad Science Monday post. Sorry... I took a few days to get myself situated because...... I am itching to get back into the classroom. When I took on the stay-at-home mom role for this school year, I told myself that once Spring break rolled around, I was going to throw my resume out there, apply for teaching jobs (if any) or sub for a school/district.... ANYTHING that would get me back into a classroom.
   And plans seem to be right on track, with Spring break in a few weeks. I have loved my time at home and I will be honest- I will miss the free time, but for me (regardless of all the drama in the education field today),  teaching is not just a job, but it's a career and a calling and it's where I feel I am at my very best. With that said, I talked to the principal at the little munchkin's school and spoke to her about becoming a sub for the remainder of the school year. I have to start again somewhere and her school is nearby and it's probably my best shot for now. Now to delve into the paperwork....
   Anyhow, so back to the learning fun at home for now....
   We have been talking alot about rainbows and the little munchkin has been learning the order of the colors of the rainbow (good ole'  ROY G. BIV), as well as the colors in Spanish!
   So to follow up with rainbows, we did a Color Mixing Experiment for Mad Science Monday.
I filled an ice tray with water and squirted in three of the primary colors: Red, Blue and Yellow.
 (I left a few clear too)  
I have read in quite a few places that the Gel Food Coloring has more vibrance in it-- and it's true! 
Look at how vibrant these colors are!
She took different colored ice cubes and placed them in whichever cup she pleased.
(I had two of each available for her to combine colors as many times as she wished, to make as many combinations as she wanted to make.)
Here are the color combinations she learned:
Red + Yellow = Orange
Red + Blue = Purple
Blue + Yellow = Green
The mixing of blue and yellow was the best one, as you could see how the two colors mixed to slowly create green, when the blue ice cube was placed in the yellow water.
And then again when the yellow ice cube was dropped into the blue water.
She later had some fun dipping the clear ice cubes into two or three different cups to create new (murky) color combinations!
Colors are so much fun and there are a plethora of fun science ideas on color mixing!

Monday, March 17, 2014

Mad Science Monday: Magic Shamrocks!

   Happy St. Patrick's Day!!!
   We are back with Mad Science Monday this week!
   The little munchkin came home from school today, so very excited about St. Patrick's Day. It was a huge deal in her classroom, and they went on a hunt around the school to find the sneaky leprechaun a who left a glittery mess in their classroom, and found some gold coins (chocolate candy) along the way. She wouldn't stop talking about it the whole ride home.
    Then she said,  " Mommy, we have to go home and find the leprechaun in the house." I was like - Uh oh! I hadn't planned anything like that!
    I am so glad that I made these Magic Shamrocks last night- a FABULOUS idea from Crystal Underwood, over at Growing a Jeweled Rose.  She has SO many fun learning and play activities on her blog, that are awesome!
    Anyhow, I told the munchkin that I was at work all day so I wasn't sure that the leprechaun came into our house but we could look for him. And what she "found" instead were the Magic Shamrocks on the counter and it was easy to convince her that the leprechaun had left them for her.
    This was another fun science/sensory activity, using simple ingredients once again. (One note though was that it needs at least 24 hours to dry.)
    Here is what you would need:
-Baking Soda
-Water
-Green Food Coloring
-Shamrock muffin pan (or cookie cutters would work too)
-Vinegar
-Any little treasures/toys
   Directions:
(Click here to see more detailed directions w/photos at Growing a Jeweled Rose blog)
-Put the desired amount of baking soda in a bowl and slowly mix water in it. You want the texture to be moldable and not too wet. Add green food coloring and mix it all.
-Place half of the mixture in the Shamrock muffin pan, then place treasures/toys in them and cover them up with more of the mixture. (I only had enough to fill two.) Pack it all in and allow 24-48 hours for it to dry, Once they are dry, they are easy to pop out of the pan.
-Place vinegar in a cup and use spoons to even plastic droppers and have fun watching the shamrocks come apart and reveal the treasures inside!
   Once the little munchkin was done, we placed some water into the muffin pan and she placed the little treasures inside the molds to clean them off.
    Here are some of the little treasures she found:
Another successful Mad Science Monday! 
(I can't wait to try this out in other forms, as suggested by Crystal-- Magic Rocks and/or Magic Easter Eggs!)

Sunday, March 16, 2014

Shamrockin' Sight Word Fun!

    Well, we are not Irish at all, but that hasn't stopped the little munchkkn and I from engaging in some green fun!
    She has been all about learning her sight words lately, so I pulled together a few activities to help her to learn her new set of sight words.
    The funny thing that I love about my brain, is that it always seems to be in creative teaching and learning mode. I went to Joann's to look for a little leprechaun statue of some sort for a game I had in mind, but I had no luck. And when I spotted little leprechaun hats and little pots of gold- Bam! I thought of a different game and knew these things would work.
Sight Word Hide N' Seek:
    I wrote a new sight word on each hat (front and back) and she had to identify the sight word in order to lift the hat to find the pot of gold!
She loved it and after a few tries, she wanted to switch the hats around herself and had mommy and daddy try to find the pot of gold.
For some art fun, we did an activity called:
 "Secret Shamrocks":
I cut out shamrock shapes on white cardstock paper and used a white crayon to write out sight words.
 She used watercolors to paint the shamrock and as she painted, a sight word was revealed!
 She even painted rainbow colored shamrocks!
And another activity we did this weekend with her sight words was a sorting activity.
 Pots of Golden Sight Words:
I  made some black pots and labeled each one with a new sight word. 
 She sorted through the many gold coins to find and glue the right coin into the correct pot- 
and made lots of Pots of Gold with her sight words!
The best thing about all three of these activities is that they can be made in many different ways for many different skills such as counting, identifying numbers, letter identification, matching letter to sound, etc.... the list goes on!

Friday, March 14, 2014

Freebie Friday...again?!

    I can't believe it is Friday again! I mean, I know it is a wonderful thing, but wow... my week went by fast! Even with the mid-week  blizzard, the week still flew right past me.
   Anyhow,  thank goodness it is Friday! 
    This week I laid low because I wore myself thin with the little munchkin's party so I didn't have the energy to create any new learning materials, activities or games.
    She did bring home another set of sight words this week and I quickly made a Sight Word Search Coloring Mat with the Wizard of Oz theme, since we are still hype on the Wizard of Oz.

    On Tuesday, we had a nice, very Spring-like day and then, on Wednesday, we  got dumped with more snow as a blizzard passed through.I swear, Mother Nature cannot make up her mind!)  So, the little munchkin has ANOTHER Snow Day. That's like #6 this winter!
    We played all of her fun board games she recieved for her birthday and caught up on reading some of the books we borrowed from the library almost two weeks ago. And I pulled out my Lakeshore Sorting Sounds Mats out of one of my zillion teacher boxes, so she could work on sorting sounds.
And then she worked some fine motor skills and did a Beginning Sound cut & paste activity that I created.
And that is your FREEBIE today!!

Click here or on the picture to download one for yourself!
(I am currently working on making this set for the entire alphabet, so the freebie is just a little sample)
Enjoy!
I am crossing my fngers (and praying too) that this last snowfall we had this week is the last of it!
The 1st day of Spring is around the corner and I want it to start feeling like it!

Wednesday, March 12, 2014

A Wizard of Oz celebration for my little munchkin!

     I have been recovering from the little munchkin's 5th birthday party craziness!  It all went great this past Sunday and I have needed the past 2 days to recover... So there was no Mad Science Monday or Crafty Tuesday posts this week... Sorry!
     BUT...
     Here are a few pics from her Wizard of Oz themed birthday party:
The table centerpieces/decorations:
Finger Foods:
 The Cupcakes and Smash Cake:
Isn't this little smash cake adorable??
Special thanks to Babycakes for the delicious cupcakes!
The Favor Baskets & Ruby Slipper Lollipops:
Inside the Baskets:
Can you match each item with its' character?
This was such a fun party to put together... alot of work because alot of little details were required, 
but it was soooo worth it. 
Everyone had a good time!
And now my baby girl is 5 years old!!